

How To Repair Lacquer Finish
Furniture Repair and Finishing Tips
Shop solutions from a professional woodworker
 Family Handyman
A professional woodworker shares basic, time-tested tips that will help you work faster and get better results on your furniture projects.
You might also like: TBD
Tips from a furniture maestro
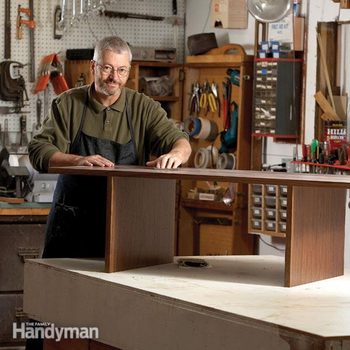
Our latest search for tips from professional woodworkers led us to Dave Munkittrick's shop in Wisconsin.
"Years ago we left the big city and bought this old farmstead," Dave said. "With a little bit of remodeling, the hog barn became my woodworking shop, and it's been a great place to build, repair and finish furniture for the last 20 years."
Dave's repair and finishing tips are the fruit of careful thought blended with ingenious thriftiness. Translation: Let Dave help you get the job done well—and cheap!
Spendy brush—a great investment

Identify a good brush
Dave showed us how to tell a quality paintbrush from a cheap one—good to know when you're at the hardware store. First, he stroked a cheap plastic-bristle brush against a table edge; the bristles split apart. When he stroked an expensive ox-hair brush on the edge, the bristles wrapped around and covered the corner.
Dave's advice: "If you're serious about finishing, invest in high-quality brushes. If you clean them well, they'll last a lifetime, minimize brush marks and hold more finish, so you don't have to reload the brush as often. I'll spend up to $50 for a good brush."
Mini mallet for tight spots

Low-cost custom mallet
Dave's mallet for tapping furniture parts together—and apart—is pretty simple. "My rubber mallet was too big to get into small spaces, so I slipped a 1-in. rubber foot from the hardware store onto a ball peen hammer. It fits in tight spots and focuses the hammer blow more accurately during disassembly and glue-ups."
The rubber feet are inexpensive and come in various diameters (3/4 in. to 1-1/2 in.). Take your hammer to the store to be sure you get one that fits.
Clean can rims preserve finishes

Keep finishes fresh
If you force the lids of your finish cans closed when there's finish filling the rim, the can won't seal and the contents will dry out.
"It only takes a few seconds after you're done to rub the can rim with a cotton cloth, which guarantees a clean and tight seal, and makes it easier to open the can next time."
Big box o' plastic gloves

Protection from solvents
"This may seem like an obvious idea," Dave said while slipping on a pair of plastic gloves. "But if you apply finishes bare-handed and then clean your hands with solvents, they go through your skin and into your system. So I keep a jumbo box of gloves handy and always pull on a new pair when finishing furniture, cleaning brushes or working with any kind of adhesive."
Boxes of 100 vinyl gloves are sold at home centers.
Always check for loose bristles

Pluck problems out
"Loose bristles coming out of the brush and drying on your project are a headache you can prevent," Dave said. Just smack a clean, dry brush several times against the palm of your hand. Loose bristles stick out from the end of the brush and are easily plucked before you dip the brush in the can.
Required Tools for this Project
Have the necessary tools for this DIY project lined up before you start—you'll save time and frustration.
Required Materials for this Project
Avoid last-minute shopping trips by having all your materials ready ahead of time. Here's a list.
Similar Projects
How To Repair Lacquer Finish
Source: https://www.familyhandyman.com/project/furniture-repair-and-finishing-tips/
Posted by: jacobsfitain.blogspot.com
0 Response to "How To Repair Lacquer Finish"
Post a Comment